Last month, we shared tips on how to customize your Meeting Wall. Now, we’re sharing more information on how you can start sharing better using your Wall to access recorded calls and share meeting documents, links and presentations. To get started, see our Quick Guide tips below.
Quick Guide: Record, Manage, and Share Meeting Resources on Your Wall
Record your meetings
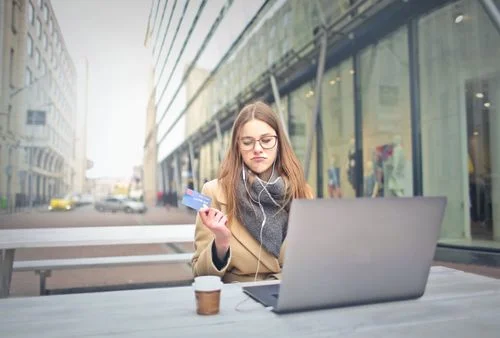
- Log on to your StartMeeting account to access your Meeting Wall.
- Click Launch Meeting Now to connect to your conference.
- Once connected, press the round Record button on your meeting window.
- A prompt will announce to all callers that the recording has started.
- To stop recording, press the Record icon again. A prompt will announce the recording session has stopped.
- Once a recording session has stopped, your recording automatically saves to your account.
You may also record your audio calls by pressing *9. A prompt will announce that the recording has started. Press *9 once more to stop the recording session.
Manage your recorded calls
- Log on to your StartMeeting Account to access your Meeting Wall.
- Click the History and Recordings tab located at the bottom of the page.
- Search recordings by a specific date range, description, or pre-existing filters.
- You may add, change, or edit recording descriptions at any time.
- Using the Recording Options icons, you may listen, download, lock, delete, or share your recordings.
- Share your recordings to your Wall, social media channels, or YouTube.
Share your Meeting Resources
- Easily upload PowerPoint presentations, Word documents, Excel files, PDFs, recorded calls, and URLs to your wall for ease of access by clicking the Upload File or Add Link button located in the upper right corner of your Meeting Resources section.
- Adding your meeting resources to your Wall provides your team with instant access. Participants simply click the link to visit a URL or download a document or recording.
- Protect your privacy by assigning a password for your documents. To add a password and update your privacy settings, access the Wall Preferences menu located in the top right corner of your Wall.
Remember, when you share your Wall URL with your team, they will have access to your meeting resources at any time. Your Wall is a great way to share meeting materials before, during and after your calls. Upload meeting notes and follow-up documents as you’d like. At any time, you can edit, delete, or add more links and documents.